Begin typing your search above and press return to search. Press Esc to cancel.

Showing posts with label tutorial. Show all posts

ESP8266 NodeMCU V1 Flashing Firmware Update Tutorial 1

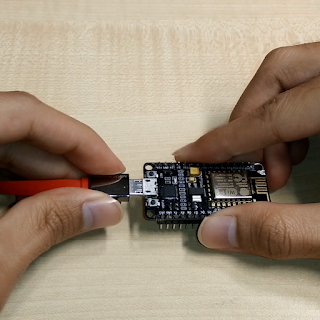
How to flashing firmware update of ESP8266 NodeMCU V1 using NodeMCU flasher

This NodeMCU V1 also known as NodeMCU v0.9 is first version of NodeMCU series. This hardware is based on ESP-12 module of ESP8266 series. The firmware used in this hardware is based on Lua script programming.


ESP8266 NodeMCU V1 WiFi IOT Module Flashing Firmware Update using NodeMCU Flasher Tutorial 1. How to update NodeMCU v1 firmware using NodeMCU Flasher.


Item Required:
1. NodeMCU V1 (Hardware) - http://www.aliexpress.com/wholesale?SearchText=nodemcu+v1
2. ESPlorer (Software) - http://esp8266.ru/esplorer/
3. NodeMCU Flasher (Software) - https://github.com/nodemcu/nodemcu-flasher
4. NodeMCU Firmware (Firmware) - https://github.com/nodemcu/nodemcu-firmware/releases

Steps:
1. Prepare all the hardware required.
2. Download ESPlorer.
3. Download NodeMCU Flasher.
4. Download the latest NodeMCU Firmware.
5. Connect and upload the latest firmware using NodeMCU Flasher.
6. Check the latest version of firmware using ESPlorer.

SUBSCRIBE Youtube Channel for more Tutorial Videos:
Read more ...

ESP8266 NodeMCU V2 Flashing Firmware Update Tutorial 1

NodeMCU V2 also known as NodeMCU v1.0 is the second version of NodeMCU series. Based on ESP-12, this hardware also use Lua script programming

NodeMCU V2 also known as NodeMCU v1.0 is the second version of NodeMCU series. Based on ESP-12, this hardware also use Lua script programming as a default firmware.

NodeMCU V2 ESP8266 WiFi IOT Module Flashing Update Firmware using NodeMCU Flasher Tutorial 1. How to update or upgrade NodeMCU v2 firmware using NodeMCU Flasher.

Item Required:
1. NodeMCU V2 (Hardware) - http://www.aliexpress.com/wholesale?SearchText=nodemcu+v2
2. ESPlorer (Software) - http://esp8266.ru/esplorer/
3. NodeMCU Flasher (Software) - https://github.com/nodemcu/nodemcu-flasher
4. NodeMCU Firmware (Firmware) - https://github.com/nodemcu/nodemcu-firmware/releases

Steps:
1. Prepare all the hardware required.
2. Download ESPlorer.
3. Download NodeMCU Flasher.
4. Download the latest NodeMCU Firmware.
5. Connect and upload the latest firmware using NodeMCU Flasher.
6. Check the latest version of firmware using ESPlorer.


SUBSCRIBE Youtube Channel for more Tutorial Videos:
Read more ...

Arduino LED Blinking Tutorial 2

This is tutorial 2 for Arduino. Readers will learn on how to program LED blinking using Digital Pin of Arduino UNO.

This is tutorial 2 for Arduino. Readers will learn on how to program LED blinking using Digital Pin of Arduino UNO. In this tutorial, Pin 12 of digital I/O will be used as an output. There are already built-in LED Pin 13 in this board. But in this tutorial we will use external LED and connects with digital Pin of Arduino UNO.


1. Prepare all the components:

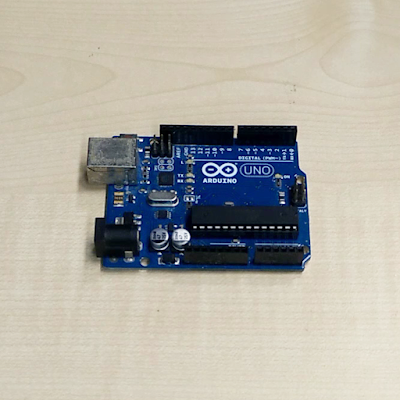
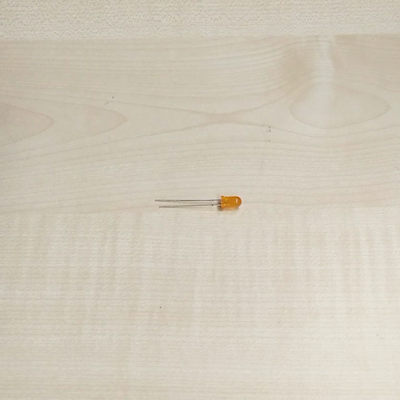
Before we start with the tutorial, you need to prepare all the require components. You will need Arduino Uno board, breadboard, 1K Ohm resistor, LED, USB cable and laptop. Below is all the items required in this tutorial.


Arduino Uno Board
Breadboard
1k ohm Resistor
LED
USB cable
Laptop


2. Draw a schematics:

Now will all components prepared, we will draw a schematic so that we will refer to this connection before we connect them.


LED Blinking Tutorial Schematic


3. Connects all components:

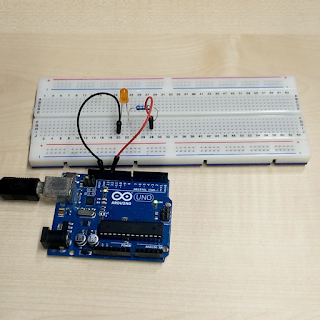
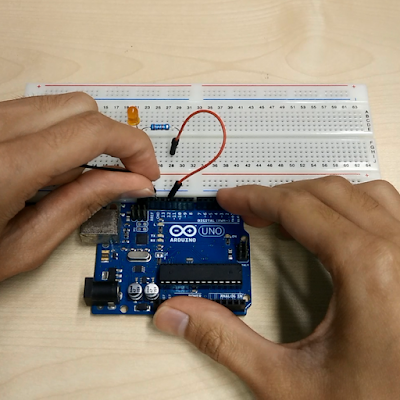
We will connect GND Pin and Pin 12 of Arduino to breadboard. GND pin will be connect to negative pin of LED while Pin 12 will connect with resistor. Resistor will connect with positive Pin of LED.


Connecting all components for LED blinking tutorial.


4. Program Arduino with LED blinking interval of 1 second:

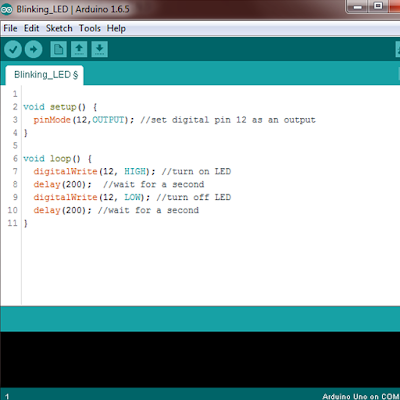
Now, let's write the first code. The first code is to make LED blink with 1 second interval. Arduino will send HIGH signal to Pin 12 with 1000 ms delay and then LOW signal to Pin 12 with 1000 ms. This code will continuously run as they are in the Void loop.

Arduino code for LED blinkin with 1s interval

LED blinking demo with 1s interval (Turn ON)
LED blinking demo with 1s interval (Turn OFF)


5. Program Arduino with LED blinking interval of 0.2 second (faster):

Now, let's write the second code. We will modified previous code to make it blinks faster. Delay value of 1000 is changed to 200.

Arduino code for LED blinkin with 0.2s interval
LED blinking demo with 0.2s interval (Turn ON)
LED blinking demo with 0.2s interval (Turn OFF)

DONE!


Below is video tutorial for this LED blinking.


Arduino LED blinking or blink led tutorial projects Part 2


Steps:
1. Prepare all components
2. Draw a schematic
3. Connect all components
4. Program Arduino with LED blinking interval of 1 second
5. Program Arduino with LED blinking interval of 0.2 second


SUBSCRIBE Youtube Channel for more Tutorial Videos:
Read more ...

How to charge lithium ion battery using Micro USB 5V TP4056

TP4056 is a lithium ion battery charger module. In this tutorial, you will learn step by step on how to charge lithium ion battery using this module.

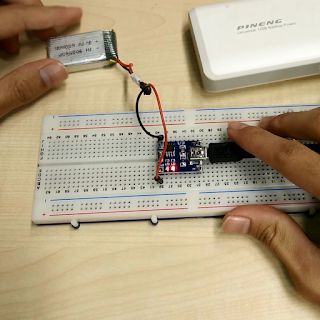
TP4056 is a lithium ion battery charger module. In this tutorial, you will learn step by step on how to charge lithium ion battery using this module. Power bank will be used a main power source.


How to charge lithium ion battery using Micro USB 5V TP4056 using power bank

Items Required:
1. TP4056 Module
2. Lithium Battery
3. Wire Jumper
4. Mini USB Cable
5. Breadboard
6. Power Bank


SUBSCRIBE Youtube Channel for more Tutorial Videos:
Read more ...

Arduino Tutorial for Beginners Getting Started Part 1

This is the first tutorial for Arduino. You will learn on how to download and install Arduino IDE.

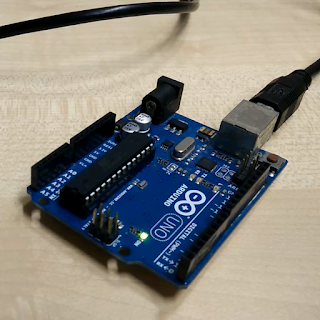
This is the first tutorial for Arduino. You will learn on how to download and install Arduino IDE. The latest installer also has include together with firmware installation. Before this, it require you to install firmware manually.


Arduino Tutorial for Beginners and Getting started with Arduino
Arduino Tutorial Part 1: Getting Started with Installation and Blinking LED


Steps:
1. Download Arduino IDE from Arduino website 
2. Install Arduino IDE
3. Plug in Arduino and try it with your first code


SUBSCRIBE Youtube Channel for more Tutorial Videos:
Read more ...